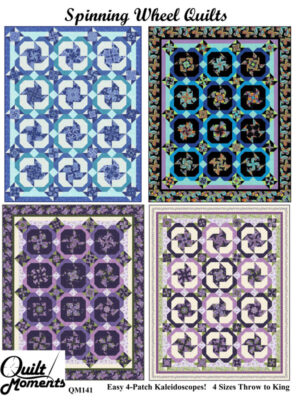
Spinning Wheel Quilts is one of my many 4-patch kaleidoscope patterns.
In addition to 4-patches made with identical square sets, this pattern also features identical rectangle sets to make what look like spinning wheels. My kaleidoscope quilts are made by layering four identical repeats of a large print fabric on top of each other, pinning with flat head pins and cutting strips sets of various widths depending on the specific pattern. These strip sets are then sub-cut into square sets to create what I call 4-patch kaleidoscopes.
My Craftsy class, Quilted Kaleidoscopes, is also a helpful reference for making any of my kaleidoscope quilts since it details the kaleidoscope process with many different fabrics.
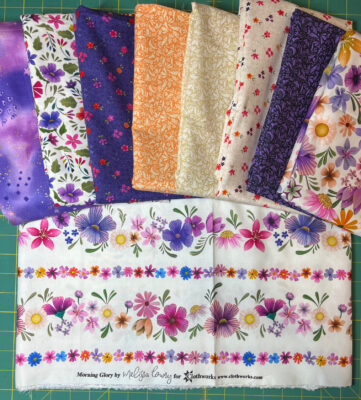
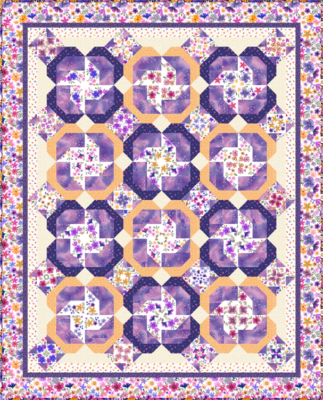
Clothworks created this very pretty rendering of my Spinning Wheels quilt with a twist, by using the floral stripe fabric designed by Melissa Lowry in her Morning Glory collection.
This blog post walks through the steps of how to create the square and rectangle sets with the stripe floral fabric rather than my random strip method from all over large prints.
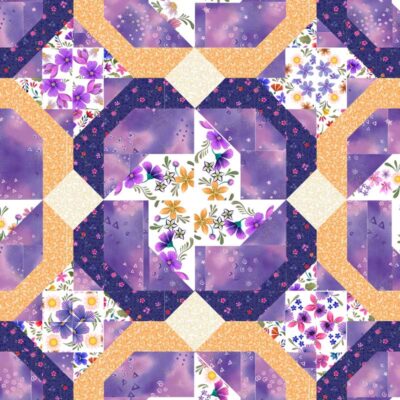
Here is a close-up of the quilt image showing some of the kaleidoscope blocks.
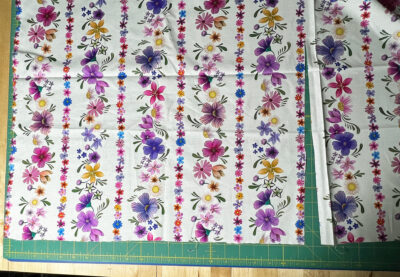
On page 3, Step 1a of the pattern, rather than cutting the fabric lengthwise down the middle, cut next to the tiny floral stripe closest to the center of the width of fabric (WOF) so as not to cut into any of the large floral areas. The photo above shows the cut I made five strip sections over from the selvage.
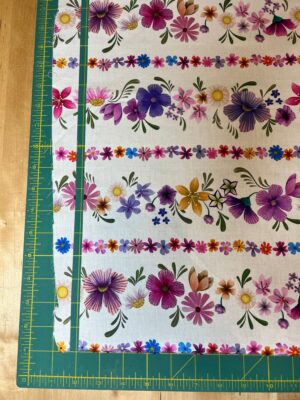
Next, rotate the fabric strip (~21″ x 2-1/2 yards length of fabric) so the stripes run parallel to the ruler on the mat.
As noted in instructions 1c, cut a thin strip to create a clean edge. Slide this thin strip over the fabric finding where it blends into the design. Since the pattern notes that cut lengths need to be at least 16″ wide to create the 4-layers for the twin size quilt, you will move the thin strip over not just one repeat, but two, since this fabric has an 11″ repeat. Therefore, the thin strip will be positioned at ~22″.
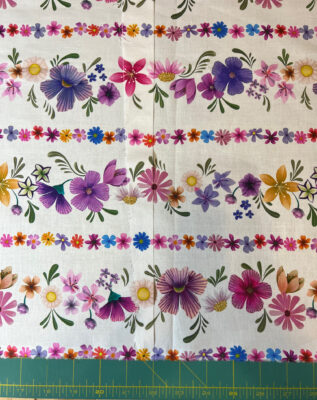
Cut along thin strip to create first layer of fabric. Then dispose of thin strip and use the first layer of fabric to cut three more identical pieces.
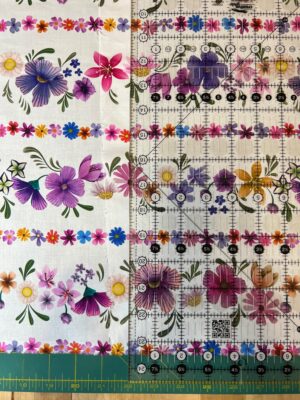
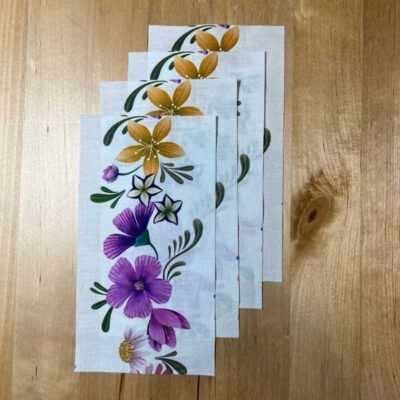
Photo below shows the four identical pieces on top of each other
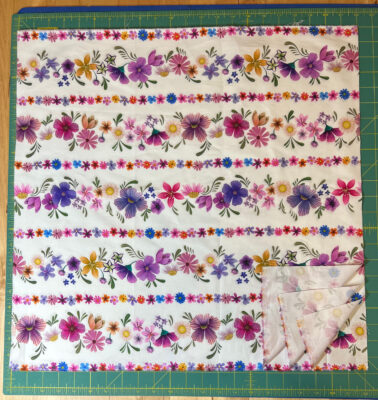
Next, rotate the fabric stack so that the floral stripes are vertical, i.e. perpendicular to the ruler on the cutting mat as shown below. Follow 1d instructions to pin the layers identically with flat head pins, positioning the pins up and down in the floral stripe areas so that you won’t cut into pins when you cut the strip sets.
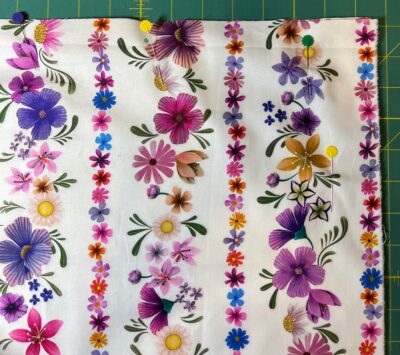
After pinning every 2 to 3″ around perimeter of the 4-layers of fabric, carefully square off one edge of the fabric by cutting next to tiny floral stripe.
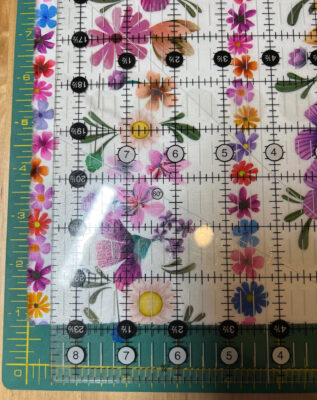
Next, by following the instructions in Step 2 for twin size, you will cut the 3-1/2″ and 2-1/2″ strip sets along the floral stripes (rather than across WOF noted in the pattern for all over large print fabrics). The photo below shows how a 2-1/2″ strip set was cut and also a 3-1/2″ strip set. A flat head pin is left in the fabric stack at the top and bottom of each strip set until sub-cut into square and rectangle sets. As noted in the instructions after cutting strip sets from this fabric stack, you will need to create a second stack using the same process in order to yield all of the strip sets needed for the quilt.
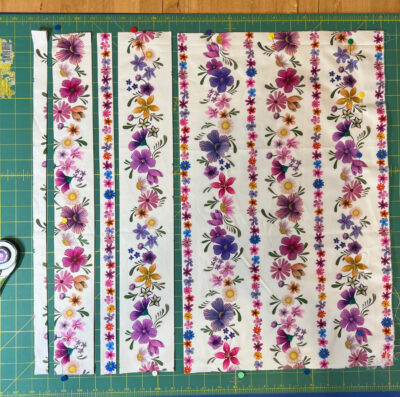
At this point, you will follow the pattern instructions to sub-cut the strip sets into squares and rectangles.
The photo below shows a 2-1/2″ strip set sub-cut into 2-1/2″ square sets.
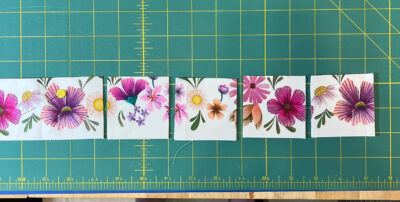
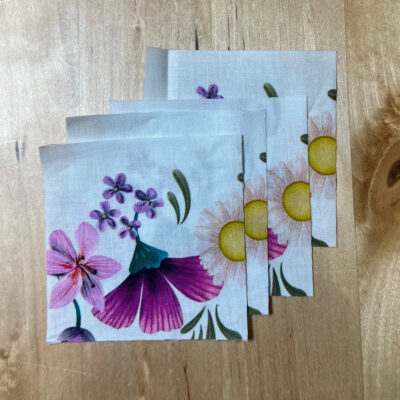
Here is one square set showing the four identical squares.
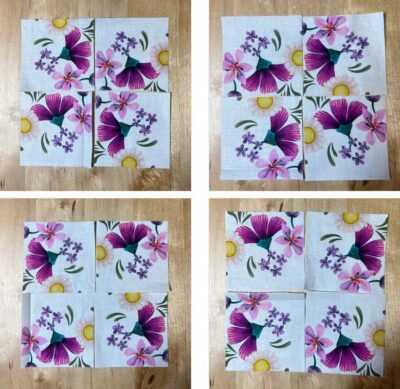
Following page 5 of the instructions, you will sew together the squares into a 4-patch. The photos below show the four different layout options to choose from created by rotating the squares. Remember when the squares are sewn together you will lose 1/4″ for the seam allowance .
Next, you will sub-cut the 3-1/2″ strip sets into rectangle sets.
You will yield (3) 3-1/2″ x 6-1/2″ rectangle sets from each strip set.
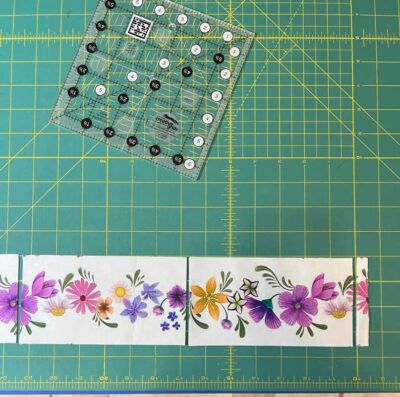
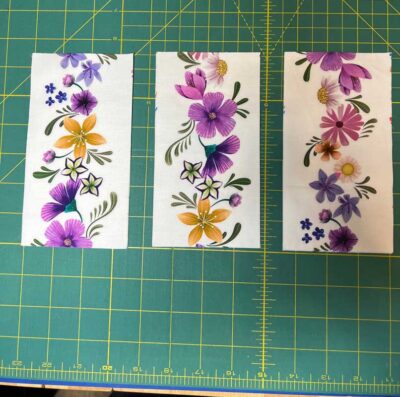
Here is one rectangle set showing the four identical rectangles which will be used to create a large kaleidoscope.
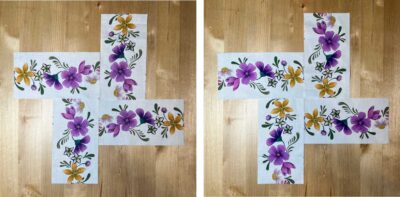
As shown on the bottom of page 5 of the pattern, you have two choices for orientation of the rectangles for these kaleidoscopes. The instructions detail how squares of background fabric are sewn onto the corner of the rectangles before they are sewn to background fabric rectangles, and then sewn into large kaleidoscope blocks.

I hope you’ve enjoyed this tutorial on how to make my Spinning Wheel Quilt using the striped floral fabric.
A runner version pattern is also available called Spinning Wheel Runners.
You can see all my available kaleidoscope patterns here.
Until next time, enjoy ALL your Quilt Moments!
Marilyn
Quilt Moments


